In this video I tried to capture most of the steps I took to create my new Assembly Table for my shop. I lost a few videos and forgot to record a few steps, but I included after the fact photos of most of the build.
ryobination
T-Track Tool Trolley
In this quick video, I show how I made my new adjustable Tool Trolley made with left over T-Track. I needed this little upgrade as I keep “acquiring” new tools and need a nice place to keep them 🙂
Adding a Rockler Drill Press Fence to a Ryobi Drill Press

I picked up a Rockler Drill Press Fence a few months back when it was on sale. It has been sitting in my shop gathering dust while I was recovering from my recent surgery. I had a little spare time in the shop while my laser was busy and I figured I could knock this one out pretty quickly.

I started out with half of my old homemade table saw cross cut sled. It was already 12″ x 24″ and was made from 3/4″ thick MDF. It also had a T-Track slot cut in it from the old sled. I also had the old Powertec T-Track pieces from the sled lying around the shop as well.

After a quick “dry fit” of the new platform I setup my router table with a 3/4″ bit, set the height to 3/8″ then set the fence to 3″ off center of the bit.

Once the table was set I made two runs on the table, one for each side. These T-Track runs are to attach the back side of the fence and allow it to be moved freely along the table.

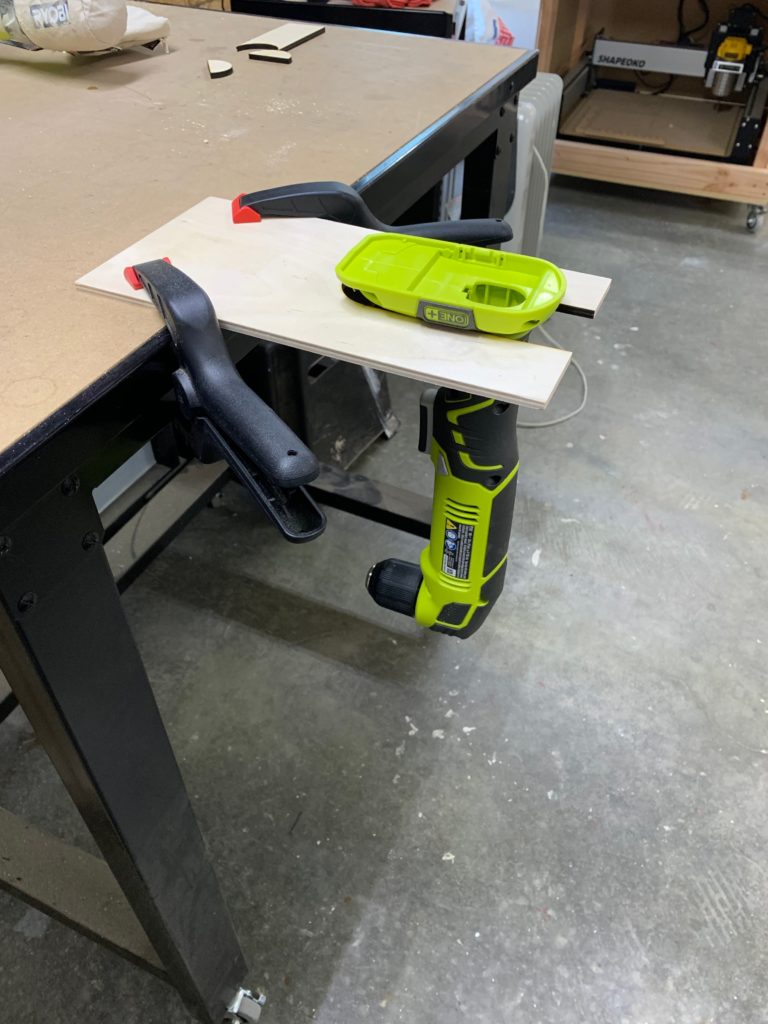
Now that I had all three T-Track slots (one was existing from the old sled) I needed to cut down the second bar to fit into these new slots. So I grabbed a hacksaw and secured the track to my assembly table with my Kreg Bench Clamp. Then proceeded to trim this piece into the 4 pieces needed to mount into the table.


I then secured the T-Track to the table with the supplied screws and mounted the fence to the back side following the instructions in the book.
Once this was completed, I fit the table to my Ryobi Drill Press. After I was happy with the placement, I took a couple of 3/4″ wood screws and washers and attached the table through the holes in the underside of the drill press table.

At this point I went to test it and found a major flaw in this design. The adjustment handle for the table height could no longer turn as it hits the table.

So, I pulled out my trusty Ryobi Jig Saw and fixed the issue..


All in all, the entire process took me less than an hour. Even tho I already had the MDF pre-cut to 24″x12″ and one of the T-Track slots was already cut, that didn’t save me that much time. It’s still a pretty simple way to add a high quality Rockler fence to a Ryobi Drill Press.
My #RyobiNation Story
Many people have asked me why I chose to use Ryobi tools and some have even questioned it. Well, let me tell you how I joined the #RyobiNation and why I still love that community.

I had always been a woodworker.Back in high school, it was one of my favorite classes. I was always tinkering with something, taking something apart, modifying things. That’s just how I was, and still am.
Back in the mid 90’s, when my wife and I were first starting our life together, we managed to live paycheck to paycheck. We didn’t have much, but we had one another. After moving into one of our first apartments, I needed some basic tools to do some of the “fixes” around the place.
Back in the day, Home Depot was the only real hardware store in town. We went in and I found a blue Ryobi Drill as well as one of their powered screwdrivers, similar to the ones pictured below.
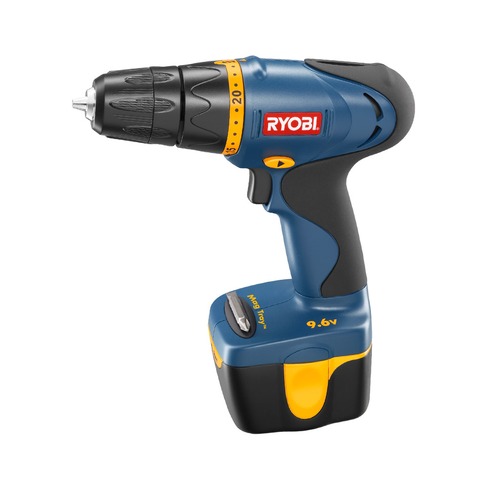
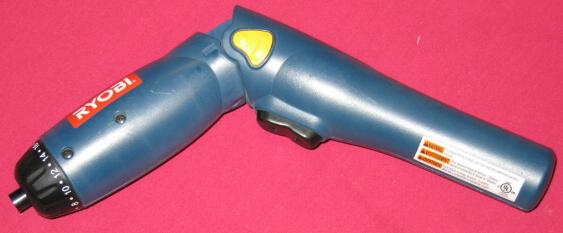
Between these two and my very old hand tools, I proceeded to fix all the little issues in the apartment: hanging pictures, fixing cabinets & shelves. Pretty much anything I could tinker with, I did.
After leaving our first apartment, we moved into a rental house. This property was run by an older gentleman. After the first month, I made a deal with him that if I fixed issues with the rental house he would take it off of my rent.
Before you know it, he was asking me to help fix other houses on his property. I then started to acquire a few more Ryobi tools as I needed them. A circular saw, a jig saw, etc.. The list just kept growing..
After about a year or so, we moved into another, larger, house. This one had a shed attached to the garage. I was in heaven. I had a workshop.
In reality, it was a dark, dirty, and very small “hole in the wall” but it was “my shop” and I was damn proud of it. I made the same deal with the owner of this house. I built shelves, installed cabinets, painted, and even installed a swimming pool.
After a few years here, we decided to buy our own place. We picked a nice little house that had an attached garage. Guess what? My shop got an upgrade! I was able to get even more tools! I finally got a table saw and a drill press! Oh was it awesome!
As I outgrew that, the next project was to add on a room to the back of the garage so I could have even more of a workshop. The game was on then; this was the first major renovation I had ever done. And guess what? Every power tool that I owned was still a Ryobi tool. They had never let me down. They were affordable and they always had my back.
We moved yet again into a larger house. This one had a shed outside that was larger than my old garage, by a long shot. I immediately set up shop in there and started tinkering with things.
This was about the time that my wife started taking notes of all the things that I wished I had in my shop. My birthday presents were all Ryobi tools. Christmas came and there was more Ryobi blue! She had a list and had been buying them all for months, hiding them so I wouldn’t know.
I spent all my time out in that shop. Building things, teaching my son to build things. He had his own little workbench out by mine.
Then came the big change…
I took a job in California and we had to move. I had to sell everything.. Well, almost. I kept the blue Ryobi Drill and that little screwdriver that started it all.
Once out in California, we moved into a couple of apartments. Which didn’t give me a chance to build anything but store bought furniture. After a few years, we finally moved into a house. And it had a garage!!
This garage quickly became my new shop. We worked on my Jeep, my Harley and anything else that I could get into that garage was worked on. I started to slowly build back up my tools. Not too many as it was still a small shop, but you know what? I went straight to Home Depot and bought more blue Ryobi tools.
Then came the move back to Illinois, we found a nice house and it had a massive two car garage.. Shortly after moving in, I started adding work benches and started collecting more tools. At this point, I could have gone with any tool brand that I wanted. But you know what? I went straight to Home Depot and was surprised to see all that green!
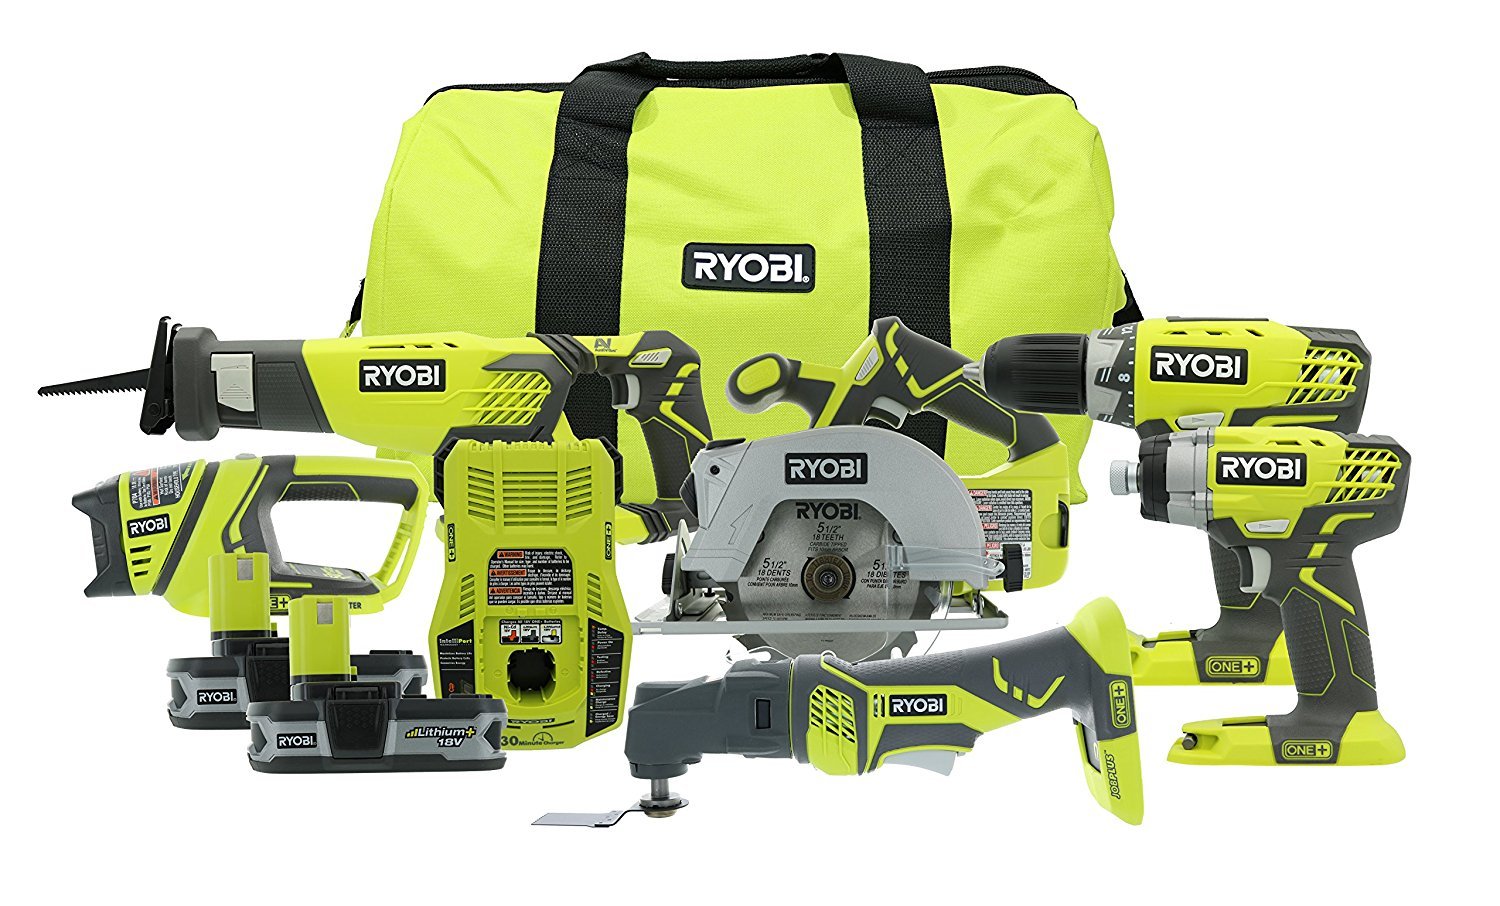
This is where I started replacing my blue tools with new greens ones. Over the course of the next few years, every time I needed a new tool the first thought in my head was Does Ryobi make one? And if they did, it was mine.
My collection has grown but, up until two weeks ago, I still owned a couple of the blue tools. A couple of older sanders were still in my shop.
I saw that Home Depot was having some sales and Ryobi has released the new Brushless line of One+ tools. So, I replaced a few of the ones that had given me several good years and replaced the last of the blue ones.
I then tossed them all into a blue and a green Ryobi bag that I had gotten with a tool combo purchase and gave them to a friend. That way I am passing my Ryobi love on to another garage.

To sum up this very long post, I’ve stuck with Ryobi for more than 20 years because they have always had my back. Their tools have never let me down and have always been there when they were needed.
And that’s my “Ryobi Nation Story”. Thanks for reading.
Building my Ryobi Nation Tool Station
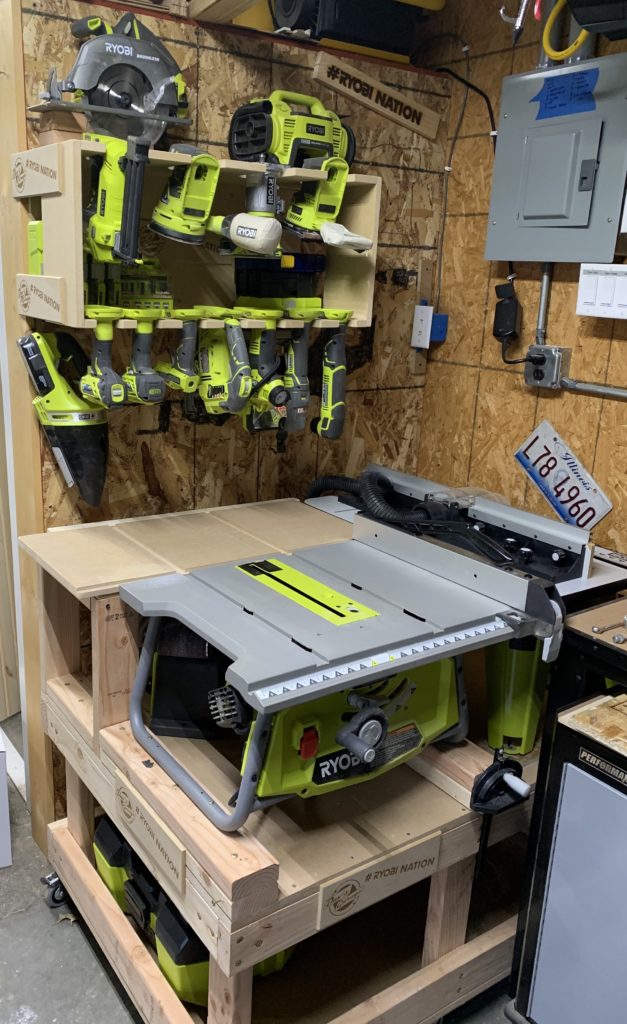
I’ve got quite a Ryobi tool collection going on and storing them in a convenient place was becoming a necessity. I decided that I should build a wall-mounted rack to store the ones that I use the most frequently.
The first thing I did was come up with the size of the “hooks” the tools will hang from. For this, I whipped up a quick prototype with my BeamBox laser.


The initial prototype was a 2″ circle and a 5″ inset. This worked out pretty well, but I eventually decided it was too long and went with a 4″ inset to the center of the 2″ circle. This gave me a nice profile and allowed me to store a variety of tools. For the larger tools, I went with a 2 3/4″ circle with the same 4″ inset.
I had a bunch of scrap 1/2″ plywood lying around the shop so I spent a few minutes and mocked up the design so that I could see it and get a feel for it.


For this prototype, I spaced the lower tool holders at about 2″ apart starting at 2″ from the end. This gave me a total width of about 28″, which I was happy with. After placing the tools into the prototype, I realized that if I moved them to start at 1″ from the edge I could get another holder in the bottom. Then all 7 of my same sized tools are on the same shelf. This also allowed me to have 4 of the larger ones at the top.
Now that I had a working design, I started to make the real thing. Unfortunately, I didn’t take a lot of pictures of this process because I was “in the zone” just getting it done as I didn’t have a lot of time that evening.
I started with 3 pieces of scrap 5/8″ MDF that I had lying around the shop as leftovers from other table builds I had done. I cut them into 3 12″ wide by 28″ long pieces. This would be the top & bottom shelf as well as the back.
I then readjusted my tool hole placement and marked them all out on one piece. Using my trusty Ryobi jigsaw, I started cutting out all of the holders.

This part is a little tedious as there are a lot of curves and straight lines to get right. Making them a little too large will mean the tools will fall. Making them too small means they won’t slide into their slots correctly. So, take your time and get them right!
Once all these were cut, I pulled out my Kregjig K5 system and started making some pocket holes in both sides of the back to secure the top and bottom shelf together.

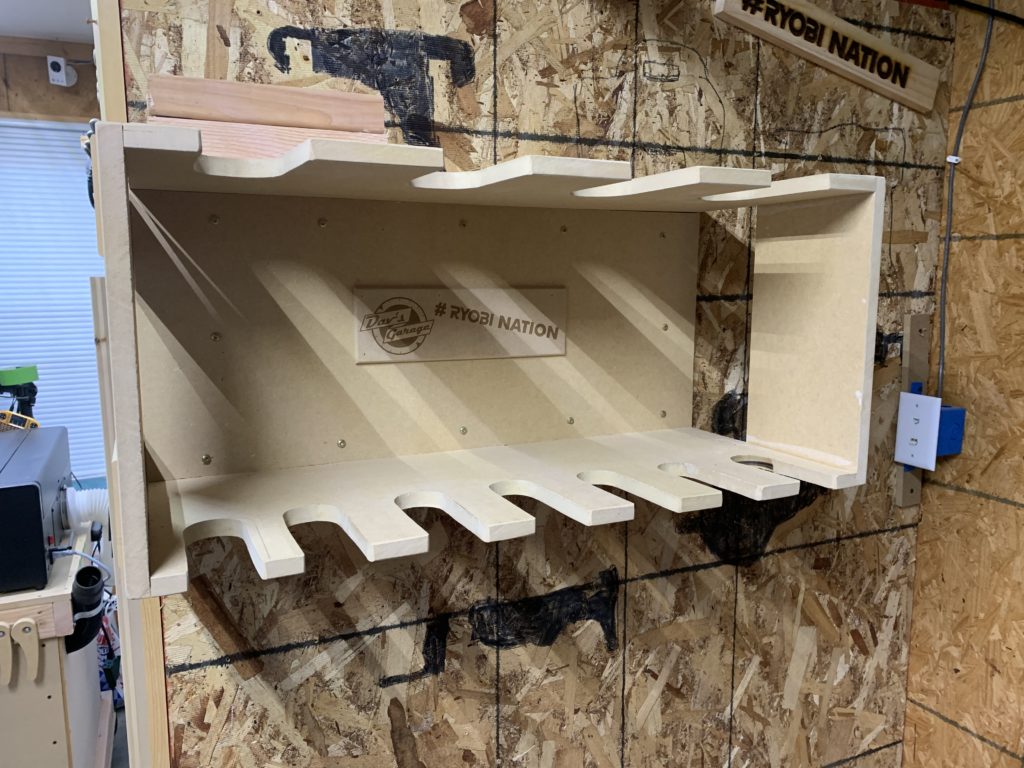
Then, it was just attaching the top and bottom shelf to the back with the Kreg screws and a bit of Gorilla Glue. Now that I had the top and bottom secured together, I took a couple of the cutoff scraps and trimmed them to be a little more uniform. After that, I glued and nailed them to the top and bottom shelves at the front with my Ryobi AirStrike brad nailer.
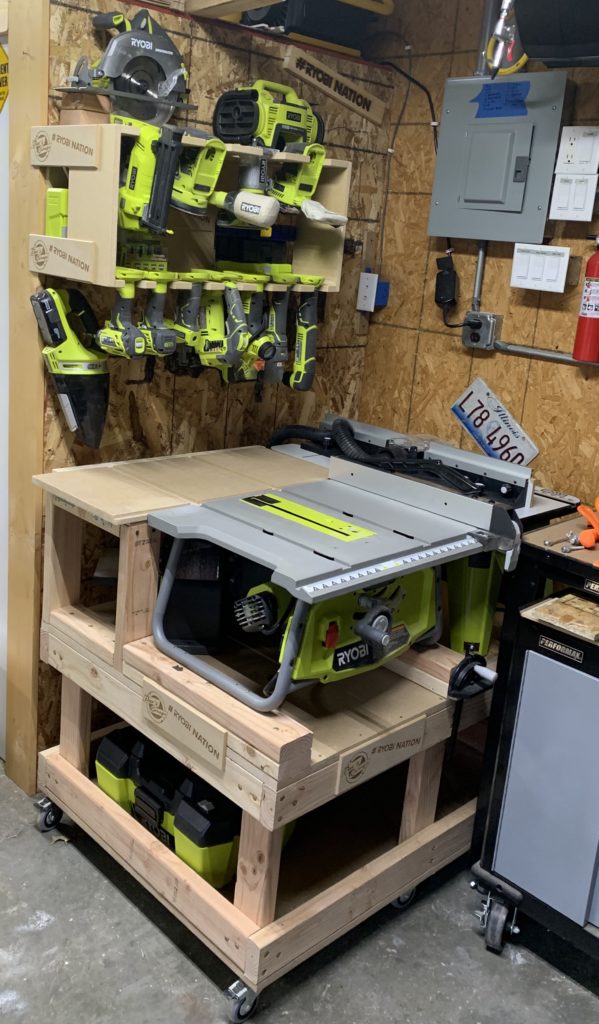
This was to give the front of the shelves more support. You could choose to enclose the entire sides. I left them open as I planned on storing my bit collection on the lower shelf and I wanted access to them. I added a couple of scrap 2″x4″‘s in the top left corner as a place to rest my Ryobi Brushless Circular saw. Together, they are the right height to clear the blade and let the saw rest nicely.

Next, I took my Ryobi Orbital sander and cleaned up all the edges, beveling them all and rounding off all the sharp corners. This was just so I didn’t cut or scrap my hands when reaching for my tools.
After that, it was time to get it hung on the wall. I called in some assistance on this as it’s a bit heavy and a little too large to hang by myself. I secured it to the garage wall with about 12 Spax screws just to make sure my tool collection won’t end up on the floor in a nasty crash.


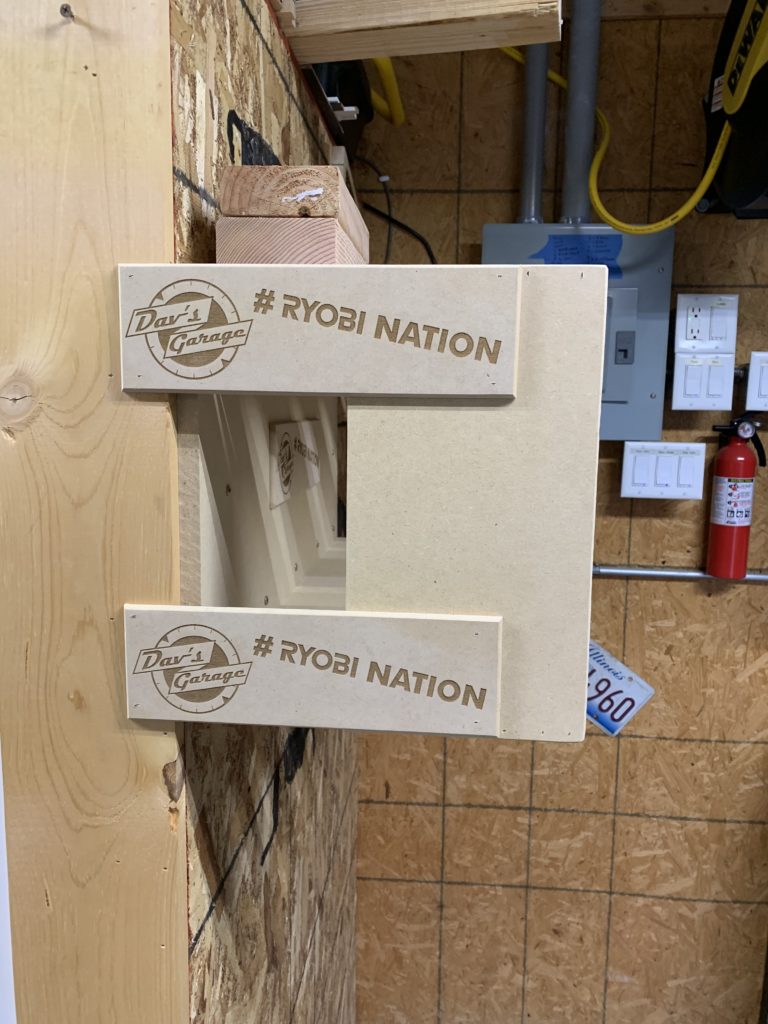
Previously, I had made a bunch of “garage badges” with my laser. It has my garage logo on it and the “#ryobination” hash tag that I use on Instagram when I post. I tossed up a few of the extras into this build to show more of my Ryobi love.
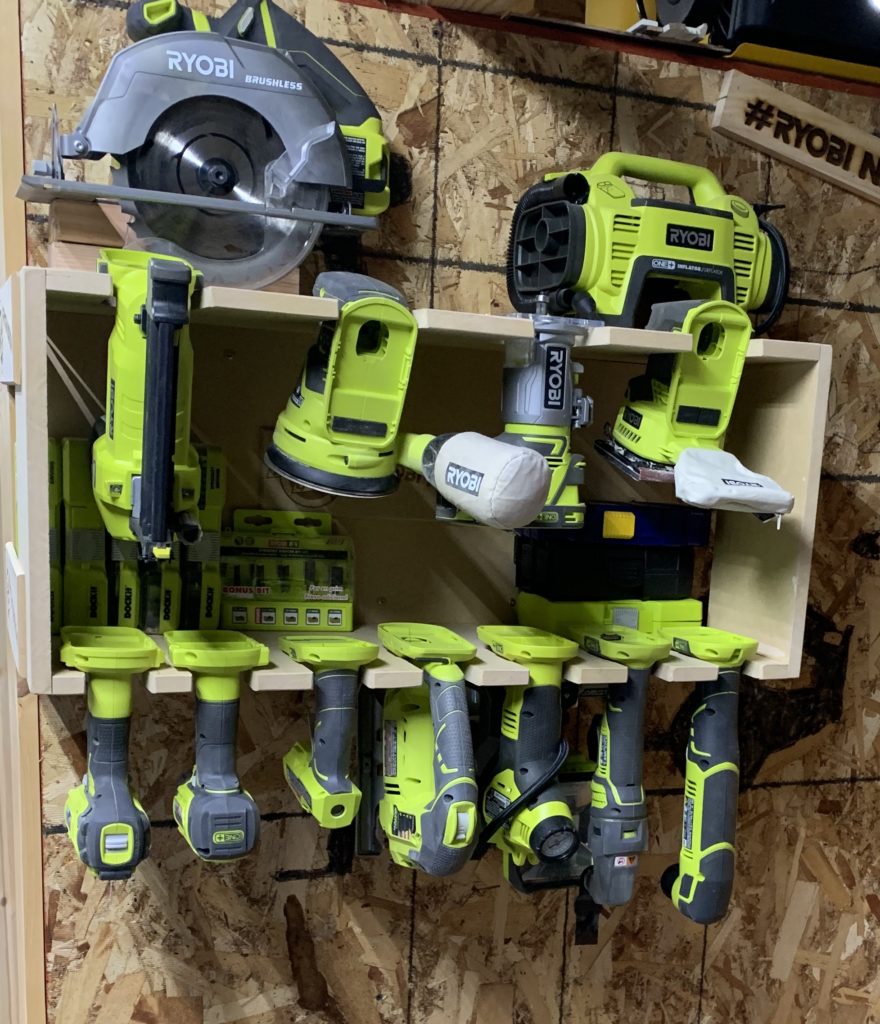
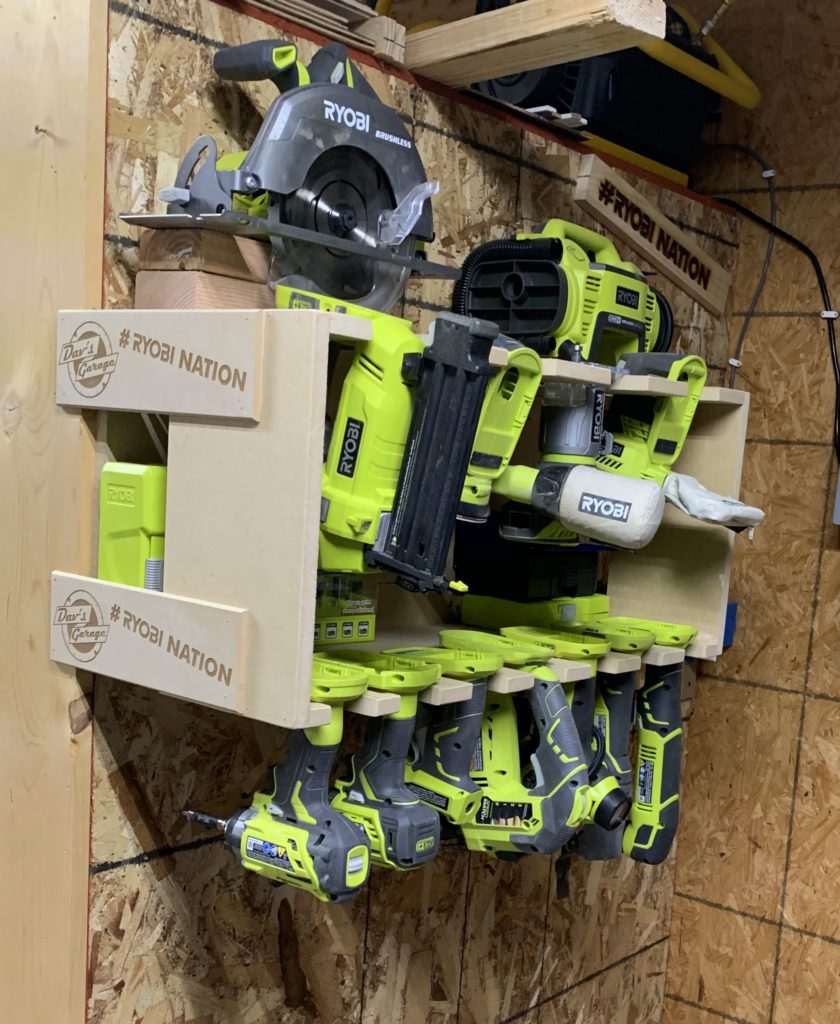
Now that it was on the wall, it was time to place the tools into their new home.


I liked building this project as it’s not only an awesome way to show off my Ryobi tool collection but it’s very functional. What used to take up 2 full walls in my shop now only takes up a few square feet.
You know what that means right? You bet, I need more new tools!!