I’ve got quite a Ryobi tool collection going on and storing them in a convenient place was becoming a necessity. I decided that I should build a wall-mounted rack to store the ones that I use the most frequently.
The first thing I did was come up with the size of the “hooks” the tools will hang from. For this, I whipped up a quick prototype with my BeamBox laser.


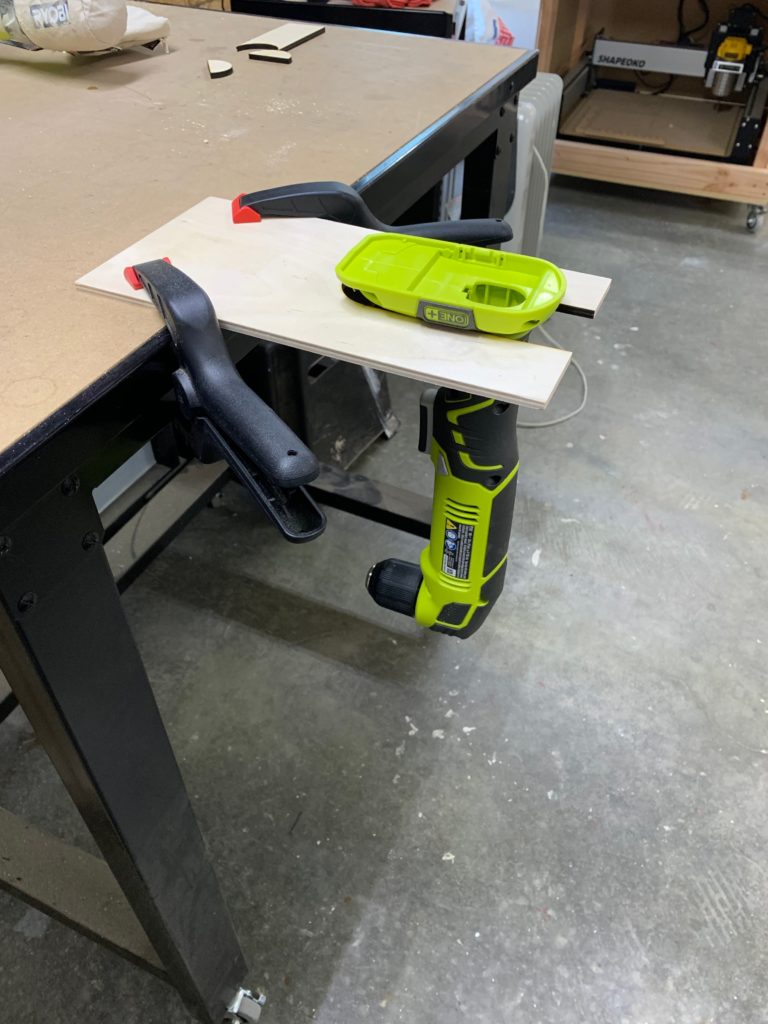
The initial prototype was a 2″ circle and a 5″ inset. This worked out pretty well, but I eventually decided it was too long and went with a 4″ inset to the center of the 2″ circle. This gave me a nice profile and allowed me to store a variety of tools. For the larger tools, I went with a 2 3/4″ circle with the same 4″ inset.
I had a bunch of scrap 1/2″ plywood lying around the shop so I spent a few minutes and mocked up the design so that I could see it and get a feel for it.


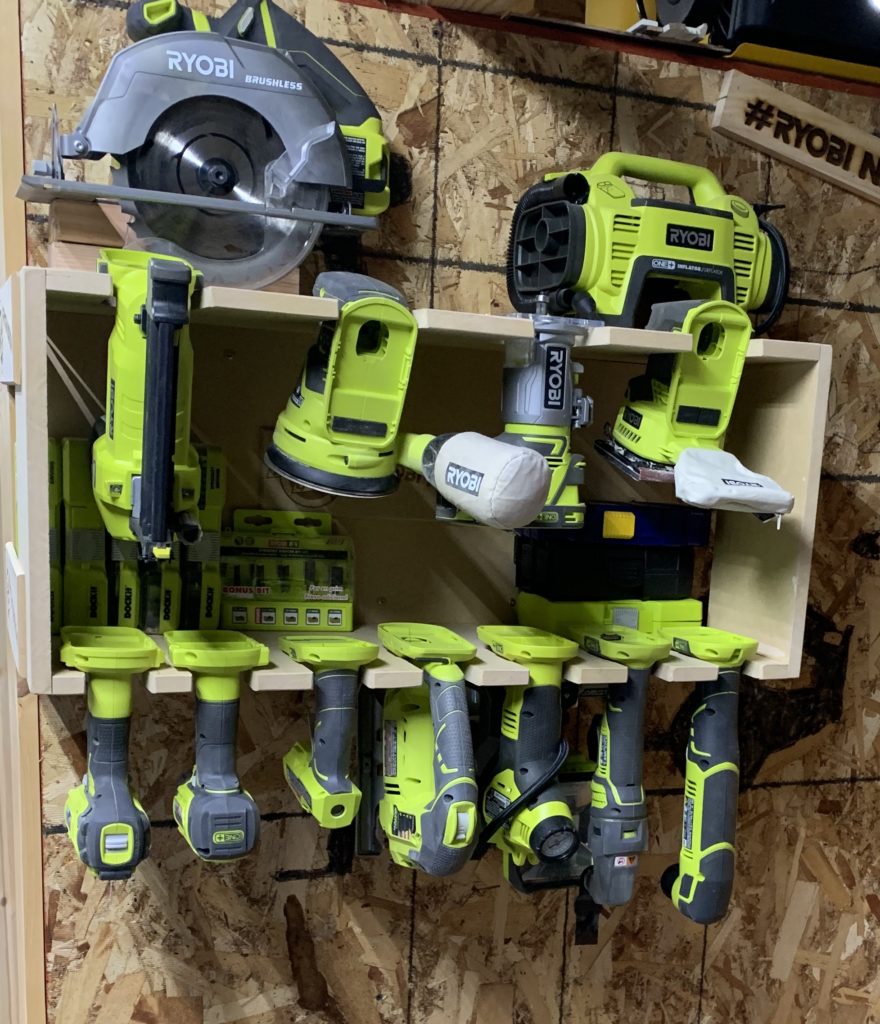
For this prototype, I spaced the lower tool holders at about 2″ apart starting at 2″ from the end. This gave me a total width of about 28″, which I was happy with. After placing the tools into the prototype, I realized that if I moved them to start at 1″ from the edge I could get another holder in the bottom. Then all 7 of my same sized tools are on the same shelf. This also allowed me to have 4 of the larger ones at the top.
Now that I had a working design, I started to make the real thing. Unfortunately, I didn’t take a lot of pictures of this process because I was “in the zone” just getting it done as I didn’t have a lot of time that evening.
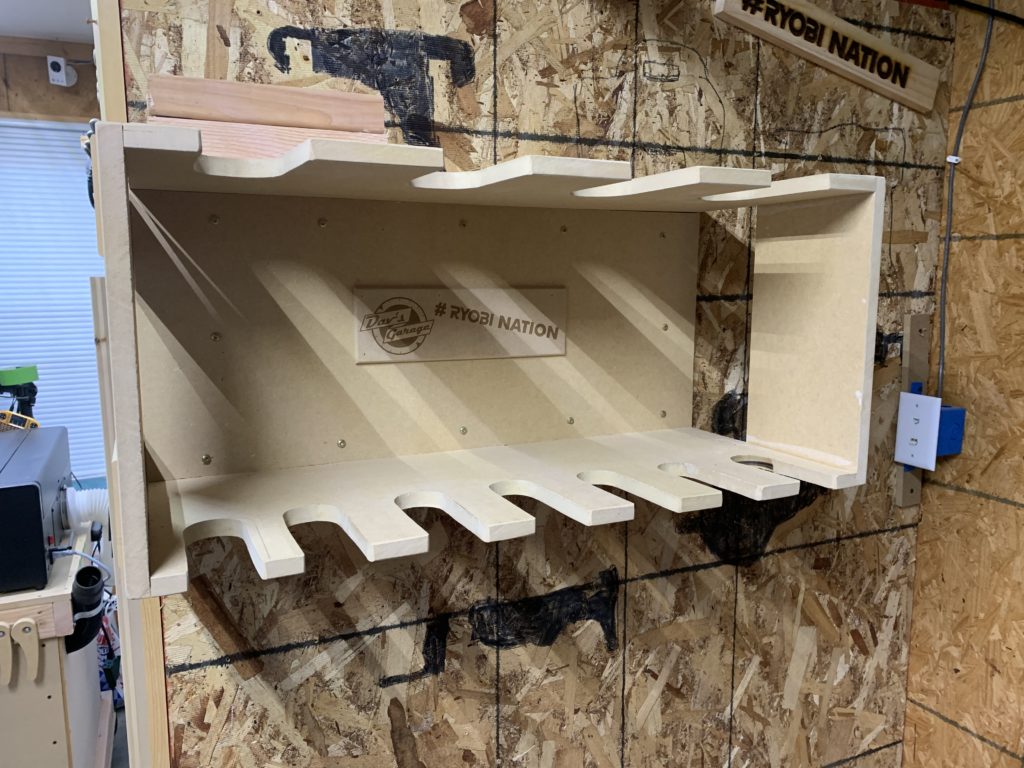
I started with 3 pieces of scrap 5/8″ MDF that I had lying around the shop as leftovers from other table builds I had done. I cut them into 3 12″ wide by 28″ long pieces. This would be the top & bottom shelf as well as the back.
I then readjusted my tool hole placement and marked them all out on one piece. Using my trusty Ryobi jigsaw, I started cutting out all of the holders.

This part is a little tedious as there are a lot of curves and straight lines to get right. Making them a little too large will mean the tools will fall. Making them too small means they won’t slide into their slots correctly. So, take your time and get them right!
Once all these were cut, I pulled out my Kregjig K5 system and started making some pocket holes in both sides of the back to secure the top and bottom shelf together.

Then, it was just attaching the top and bottom shelf to the back with the Kreg screws and a bit of Gorilla Glue. Now that I had the top and bottom secured together, I took a couple of the cutoff scraps and trimmed them to be a little more uniform. After that, I glued and nailed them to the top and bottom shelves at the front with my Ryobi AirStrike brad nailer.
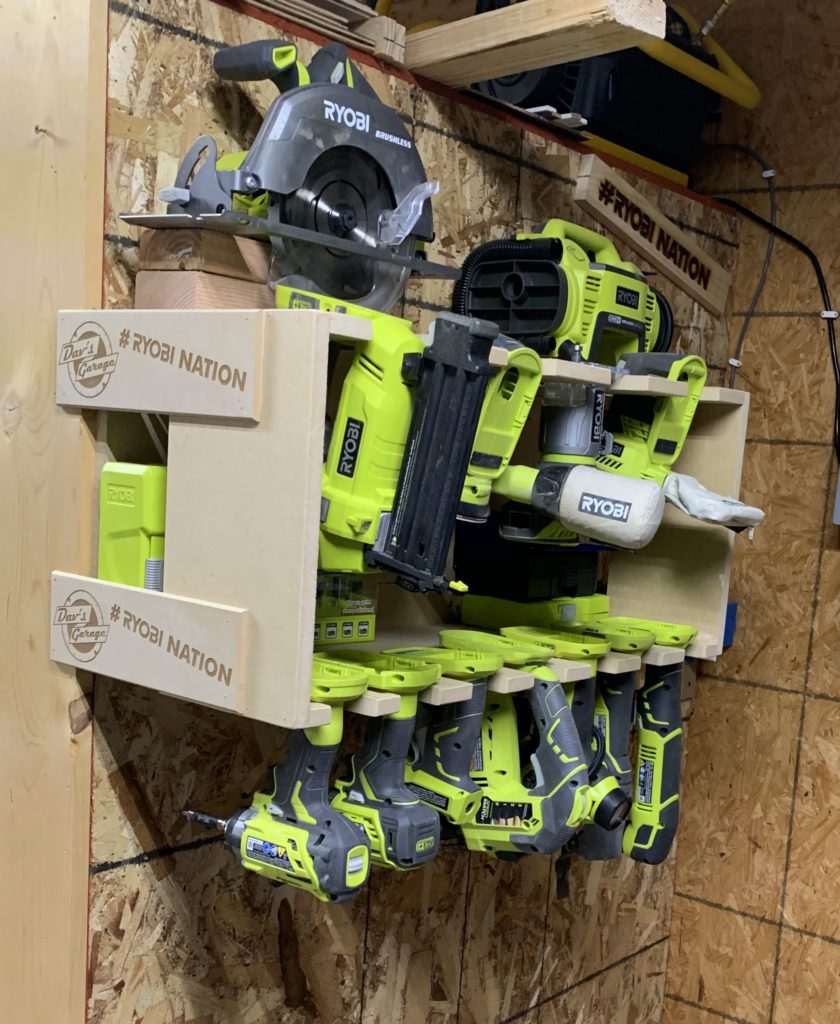
This was to give the front of the shelves more support. You could choose to enclose the entire sides. I left them open as I planned on storing my bit collection on the lower shelf and I wanted access to them. I added a couple of scrap 2″x4″‘s in the top left corner as a place to rest my Ryobi Brushless Circular saw. Together, they are the right height to clear the blade and let the saw rest nicely.

Next, I took my Ryobi Orbital sander and cleaned up all the edges, beveling them all and rounding off all the sharp corners. This was just so I didn’t cut or scrap my hands when reaching for my tools.
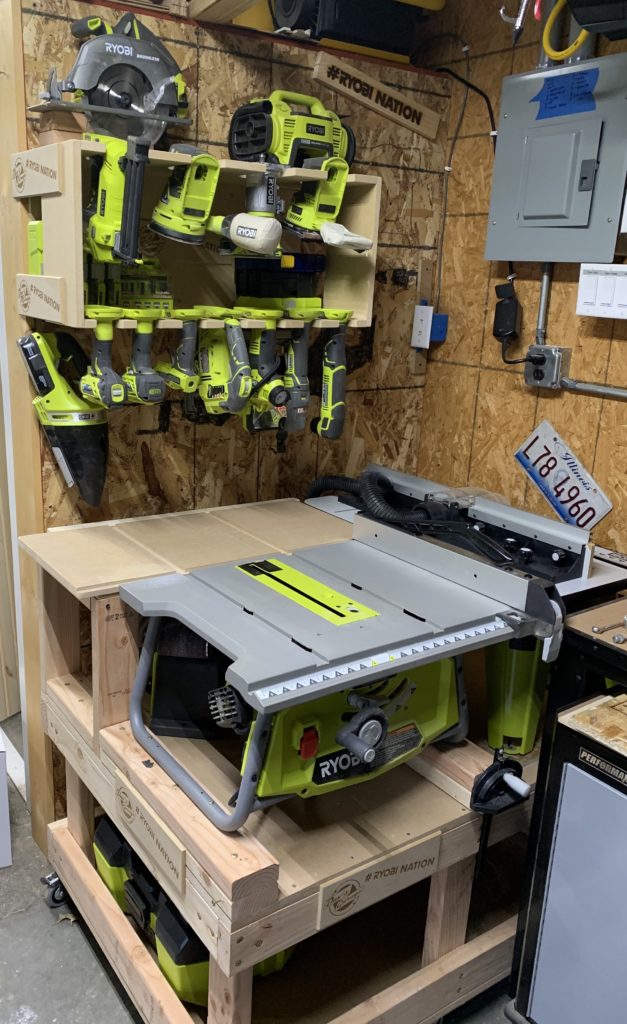
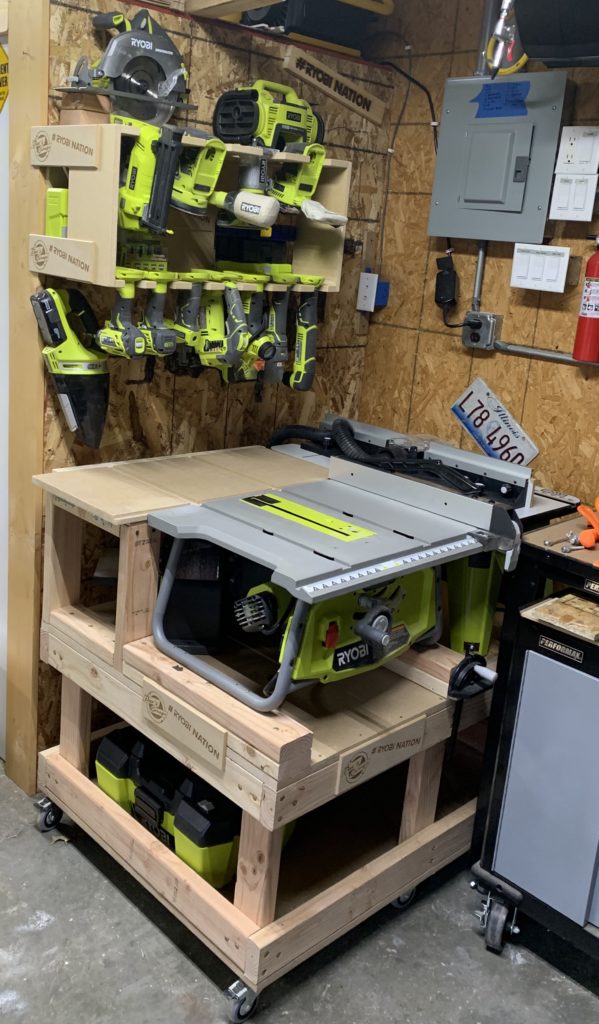
After that, it was time to get it hung on the wall. I called in some assistance on this as it’s a bit heavy and a little too large to hang by myself. I secured it to the garage wall with about 12 Spax screws just to make sure my tool collection won’t end up on the floor in a nasty crash.


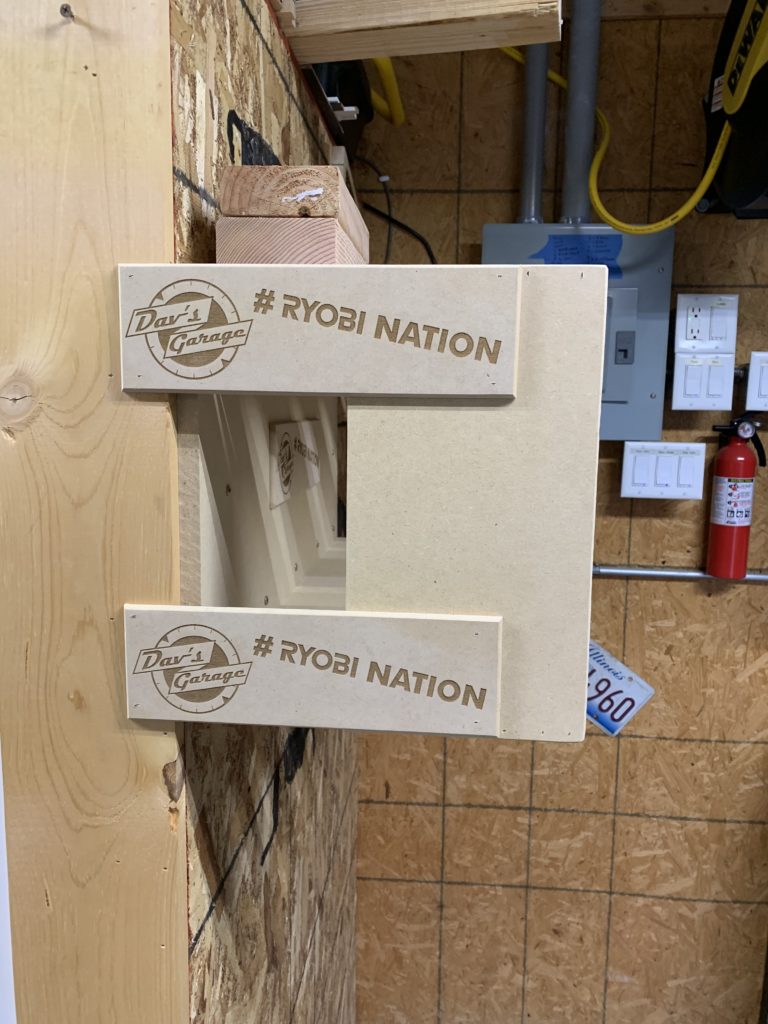
Previously, I had made a bunch of “garage badges” with my laser. It has my garage logo on it and the “#ryobination” hash tag that I use on Instagram when I post. I tossed up a few of the extras into this build to show more of my Ryobi love.
Now that it was on the wall, it was time to place the tools into their new home.


I liked building this project as it’s not only an awesome way to show off my Ryobi tool collection but it’s very functional. What used to take up 2 full walls in my shop now only takes up a few square feet.
You know what that means right? You bet, I need more new tools!!