In this video I show you how to change the water in the coolant system in the FLUX lasers. I replace it in my Beamo, but the process is very similar for the Beambox and the Beambox Pro.
laser
HackSI and making COVID-19 Face Shields
Updated: 04/13/2020 – Items in italic are new
My Files: hacksi-shield.zip
Based on: COVID-19-Plastic-Mask
Original Files: Facial mask Laser Cut (Covid-19)
Black Sheets: Amazon
Clear Sheets: Amazon
The video above is for our GoFundMe campaign that I am launching to help me make as many shields as possible for our local healthcare workers.
Design
I can’t take credit for the design of these files. After looking at these awesome options, I took the files and had a friend modify them to fit on 8.5″ x 11″ material. This allowed me to purchase the items for a very low price on Amazon.
The way I’ve laid out these files, if your laser can cut a full 8.5×11 sheet, you can make 2 masks with 4* pieces of material. One sheet of the black (straps) and three of the clear (2 shields and tops*). My FLUX Beambox can handle all of these files as they are. For the Beamo, I can only cut the face shield file without modification. An extra sheet of clear is required for the Beamo to complete these shields to accommodate for the smaller deck size.
FLUX BeamoThe current set of files do not all fully work on the Beamo. The cutting size is a little too small to cut all of these files as they are. You can either scale them all down just a bit. Or you can open the SVG files and split them into more files. This will cost more material but you can cut everything at full size.
The files in the zip have been updated to include working versions for the FLUX Beamo laser.
Instructions
I’ve also included in the zip an instructions sheet for assembling the masks. These can be printed and given to the healthcare workers so they know how to assemble the masks when they need them.
2k Instagram Followers Celebration
Recently I hit 2k followers on Instagram and instead of doing a traditional giveaway I’ve teamed up with FLUX and Ultimate 3D Printer Store to offer my followers a $100 coupon code for either the #beamo, #beambox or #beamboxpro lasers that I have here in my shop.
This offer is only valid in the US & Canada for two weeks (3/1-3/14/2020).
The coupon code for this discount is GLASS2020. Use it with the following referral links to get your $100 discount.
Beamo: https://fluxinc.pse.is/dav_beamo
Beambox: https://fluxinc.pse.is/dav_Beambox
Beambox Pro: https://fluxinc.pse.is/dav_BeamboxPro
I get nothing for this discount, I’m passing these savings on to you so you can enjoy these lasers as I do!
First Official YouTube Video is live
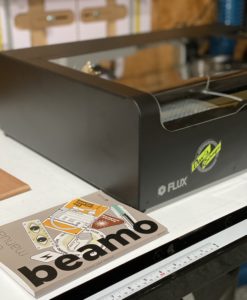
I’m a huge fan of Flux products.. I own a first and second edition of their Delta+ 3d printers as well as a Beambox. This week I received my Kickstarter reward of the new Beamo desktop laser and in this video I unbox it and do a basic setup and test etch on it. Check out the video below.
This is my first real YouTube video, so please be gentle with the comments 🙂
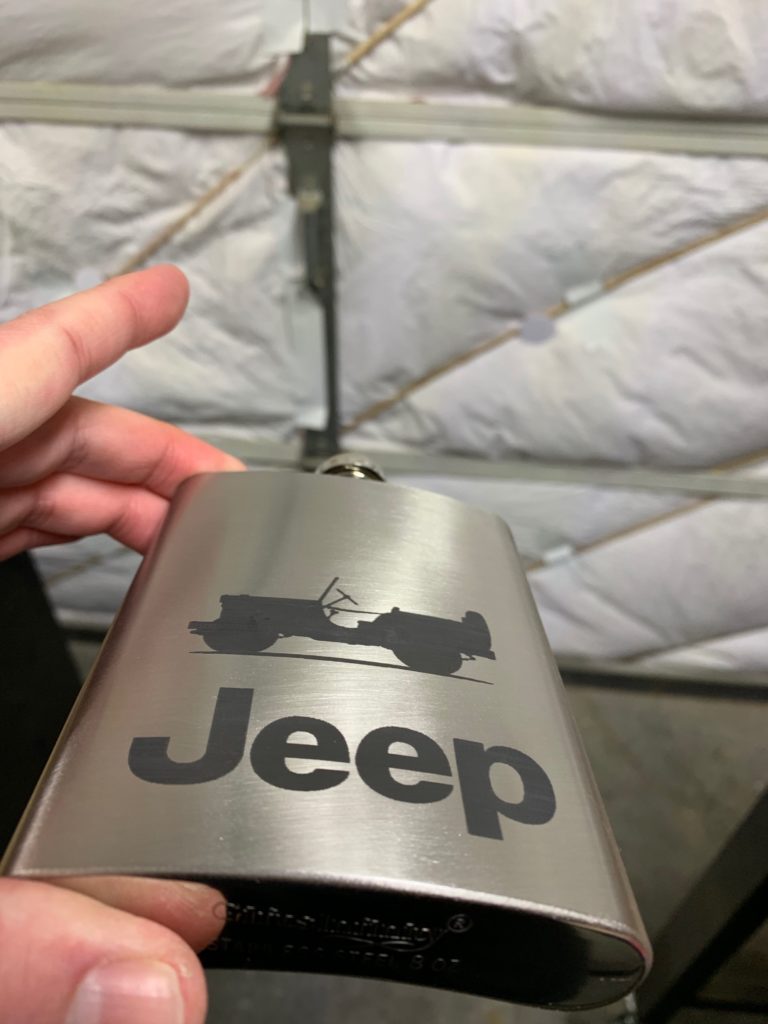
Laser etching stainless steel with a 40w CO2 laser
In my shop I have the Flux Beambox 40w CO2 laser. Up until today I had used it to laser etch and cut wood & acrylic. The only metal work I had ever done with it was removing painted coating from aluminum.

Recently I learned that if you coat stainless steel with a chemical compound you could laser etch onto it and it would stay. Specifically the chemical is “molybdenum disulfide”. This can be found in “CRC Dry Moly Lube“. Of course I had to give this a try.
I ordered the CRC from Amazon and a batch of stainless steel drinking flasks. I then picked up some “Denatured Alcohol” at Walmart and I was ready to go.

The first step is to tape up the areas that you don’t want the Dry Moly to get on the material. For the flasks this was around the lid area. Then I sprayed a very thick coat of the lube onto the front of the flask. Making sure it was nice and thick as well as evenly coated.

I let this dry for about 10-15 minutes before dropping it into the laser. Now comes the fun part. For my first run, I set the laser to run at 50mm per second at 55% power. This actually turned out to work very well.

As you can see, some of the darker area at the bottom are a little light on the etching, I think this was because I didn’t put enough of the lube on. So I tried another design but changed up the settings. I went with 95% power at 50mm per second.

That didn’t work as I had expected, the darker areas at the top turned out super light and it created pretty large dents in the stainless. I think the metal is just too thin for that power of the laser.
Next up, I went back to using the 50% power at 55mm per second but this time I used 2-3 really good coats of the lube; making sure to cover it really well.

Now this one turned out absolutely beautiful. I’m really happy with how this one pops on the metal. At this setting I just need to dial in the proper amount of lube to apply. So I tried a few more times.
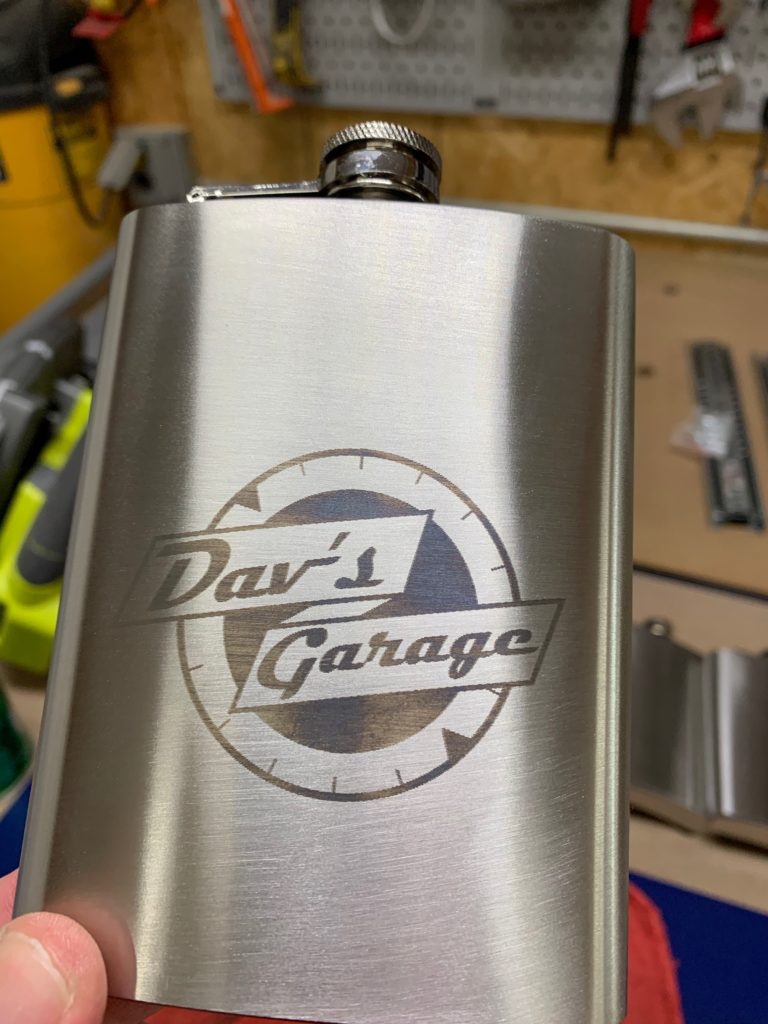
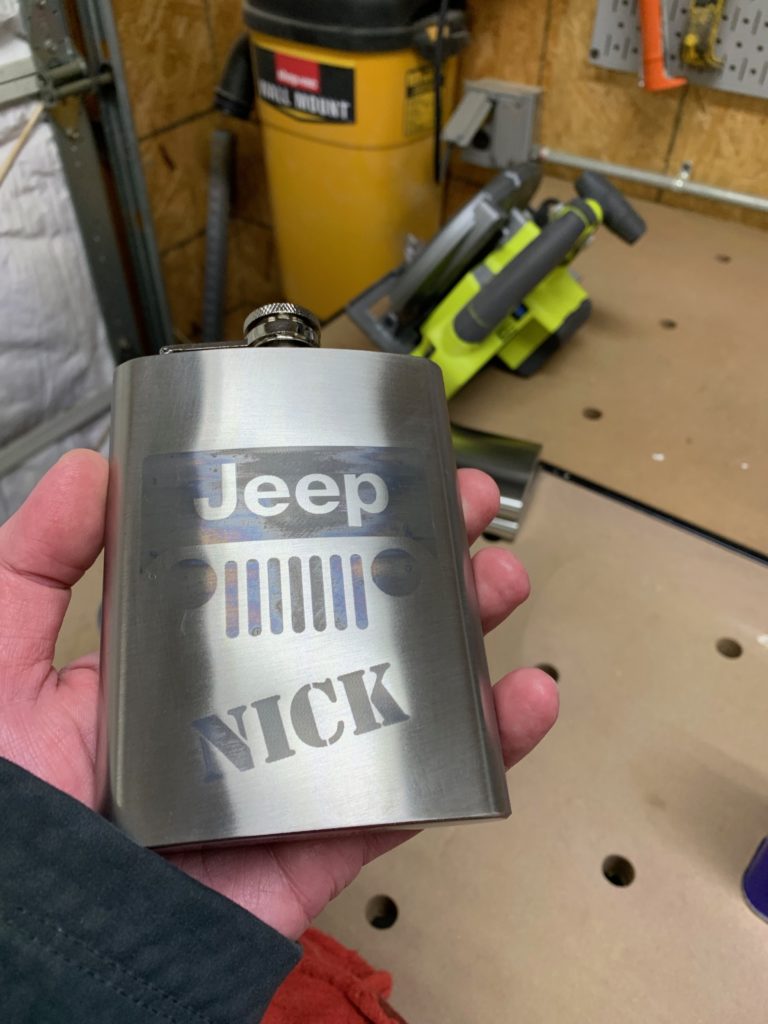
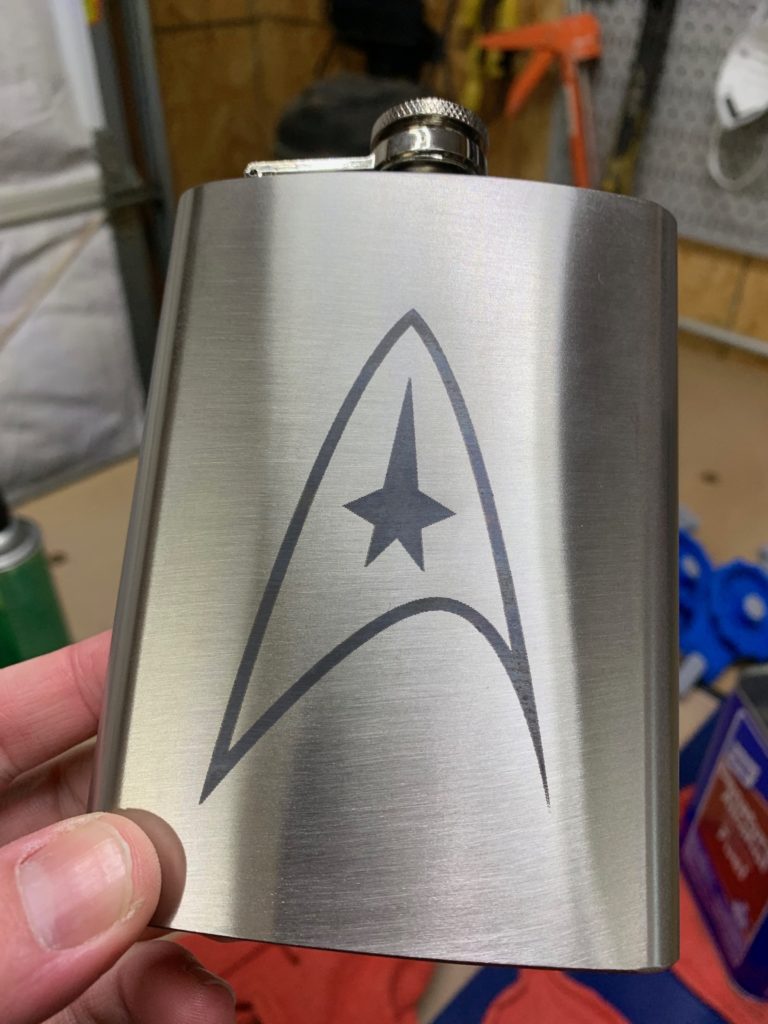
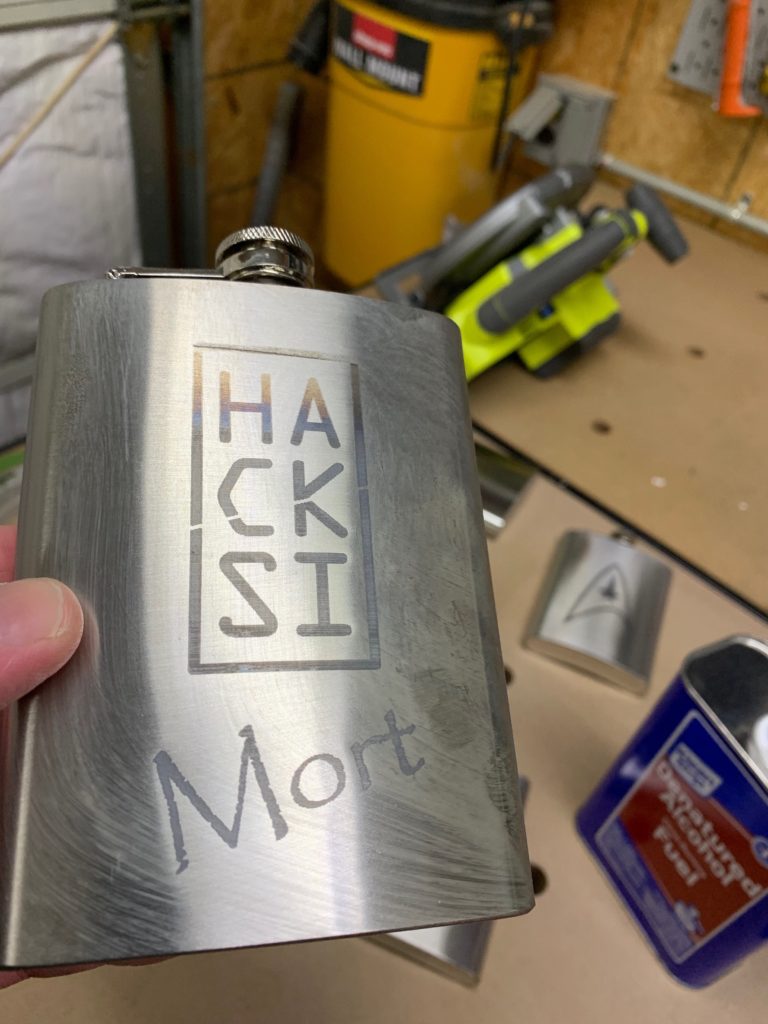


As the day went on I think I finally got the hang of the proper amount of lube to apply and the results show for themselves.
I hope you enjoyed this post!